Introduction
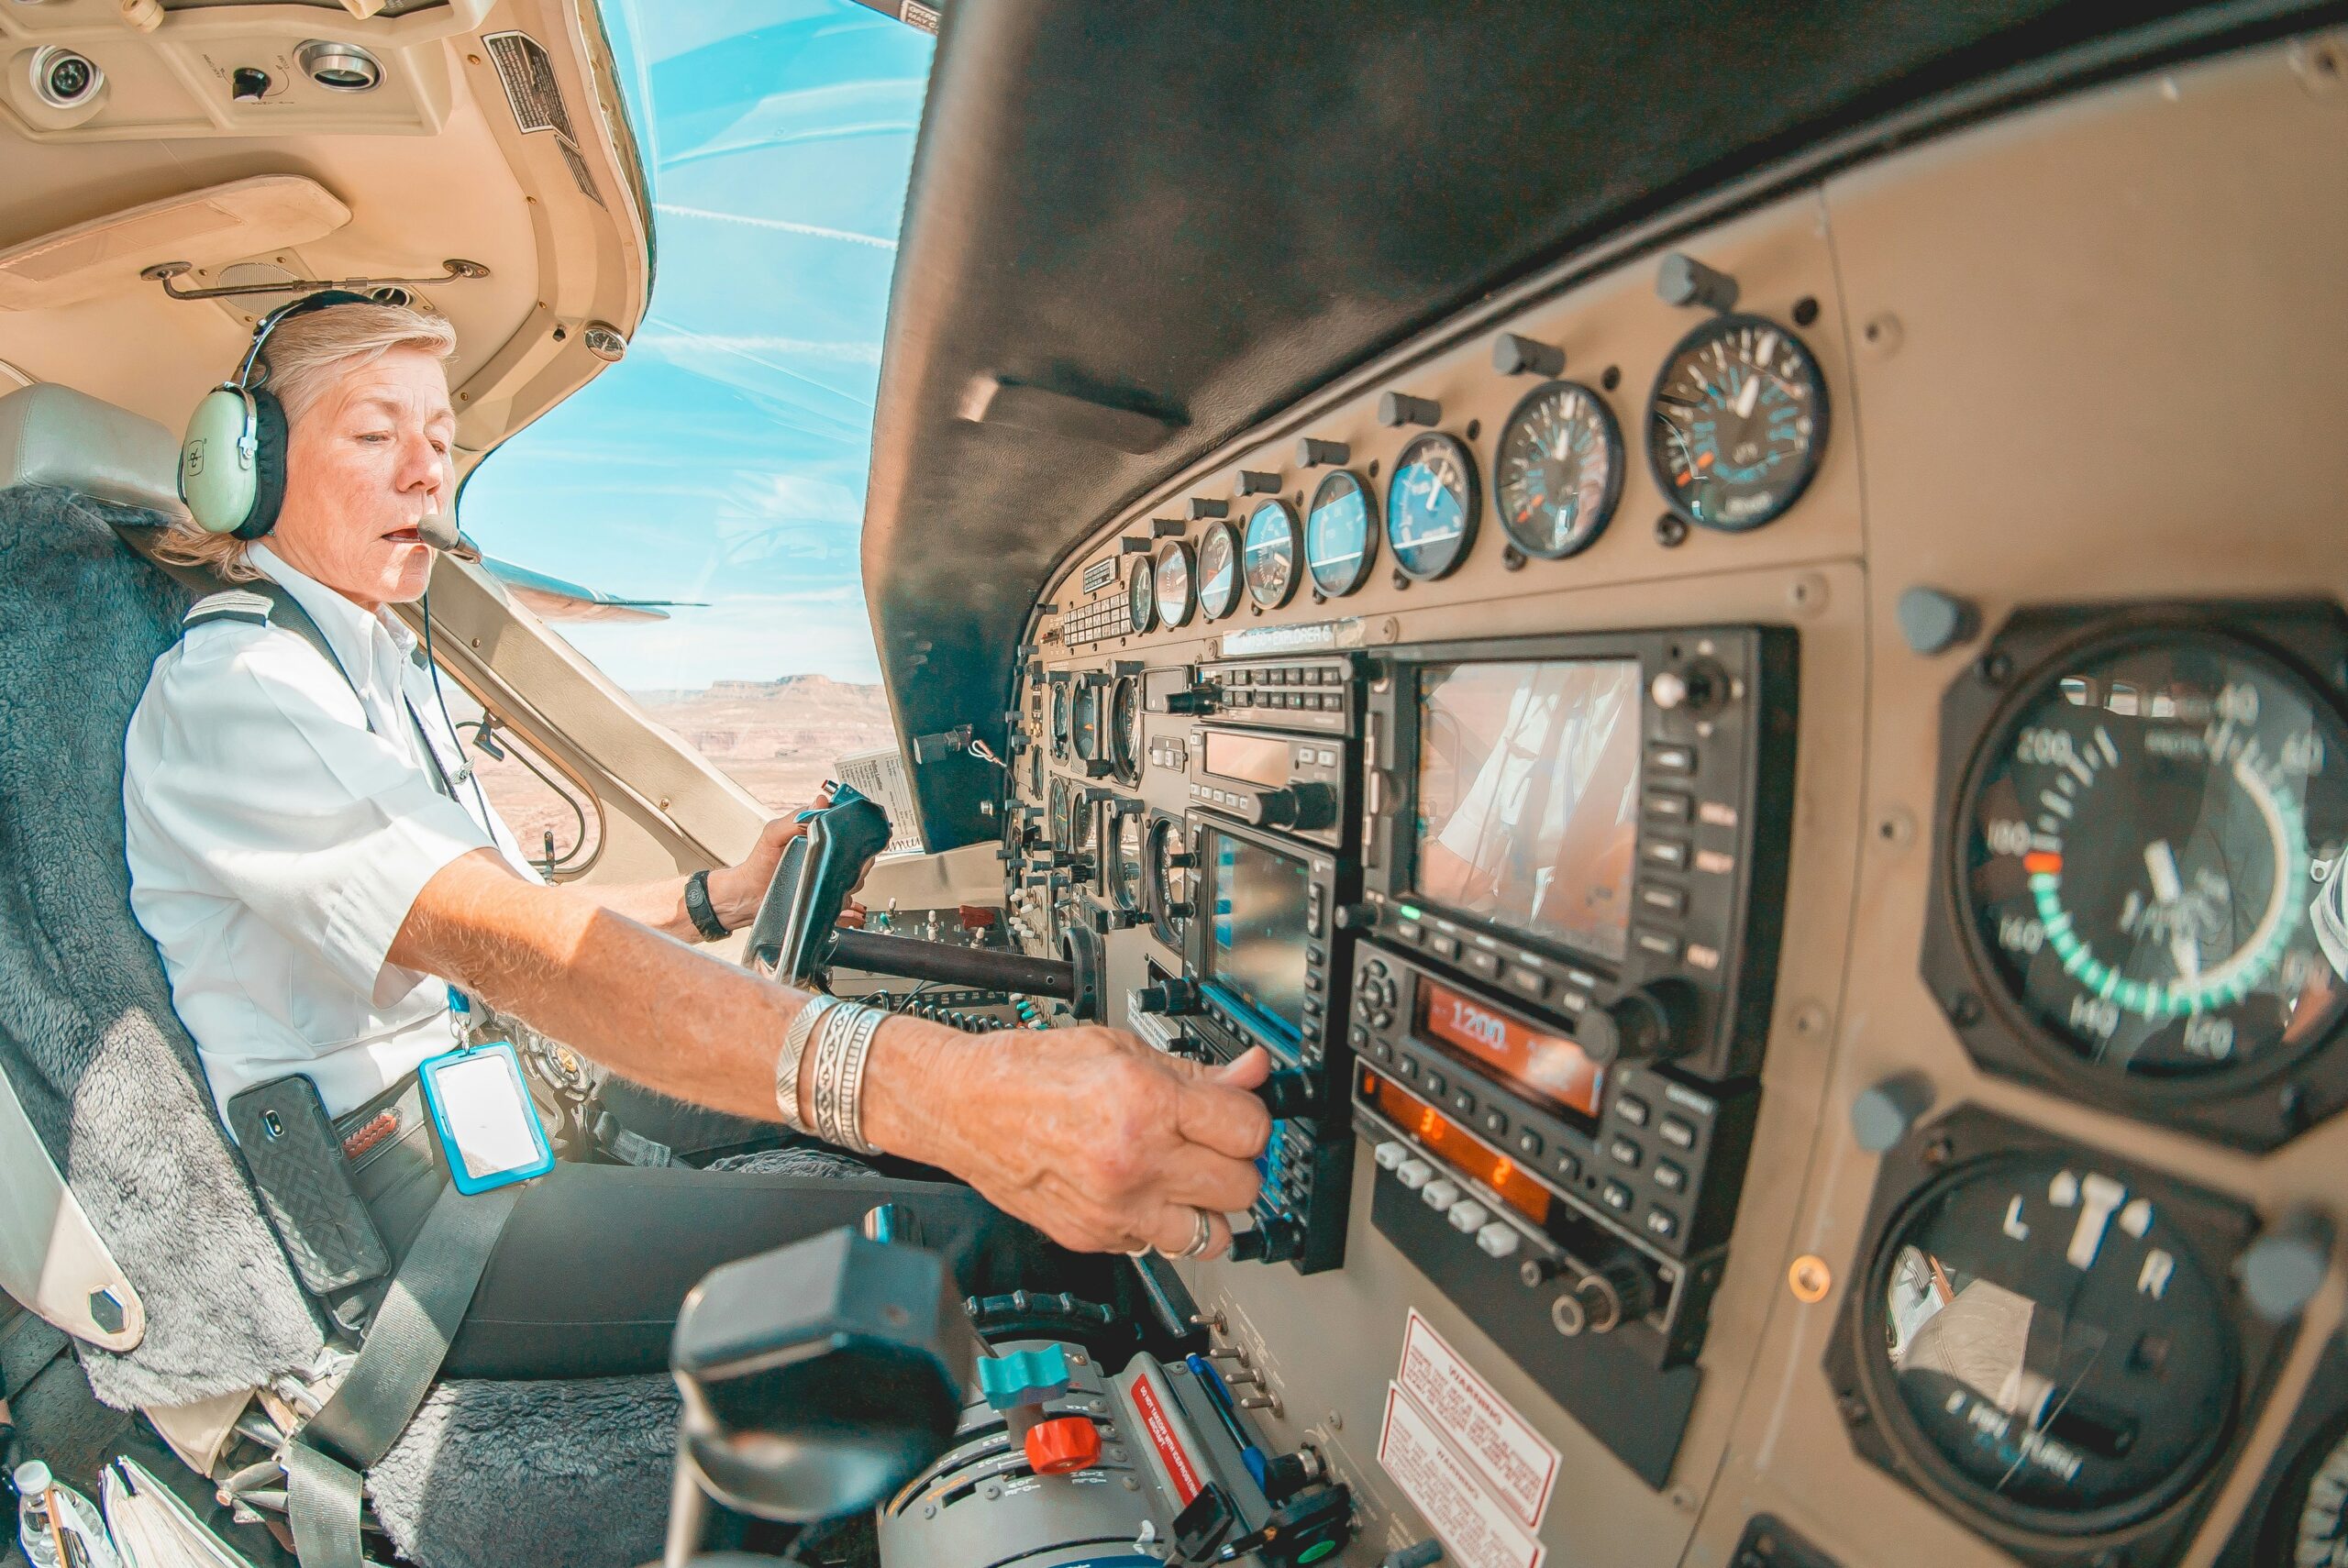
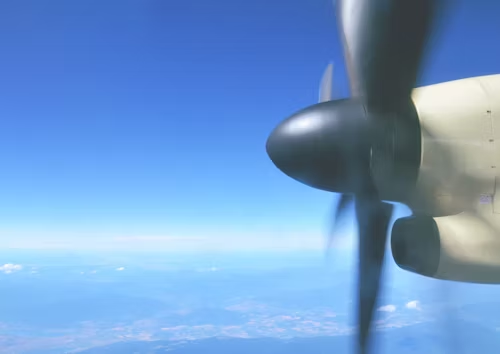
It’s hard to believe that I had this plane up at 11,500 feet, flying up above the cloud deck—smooth, calm air, nice and cool temperatures—and now I’m down on the ground, sun shining, a little bit hot and sticky. It’s just a different world up above the clouds.
“Chicago Center, Arrow One Zero Tango, we may need to climb up to 11,000 to clear some clouds in front of us. No traffic? But you’re welcome.”I can tell you that this is going to be the most detailed Piper Arrow 180 review that you will find.
We’re going to cover all aspects of the plane, starting from a brief history about the Piper Arrow, going on to the exterior and design of it, talking about the landing gear—including some information about that interesting automatic landing gear system—and then we’re going to take a closer look at the engine and propeller, check out the interior, and we have to take a look at the avionics.
Table of Contents
1. Performance, Features, and Comparisons
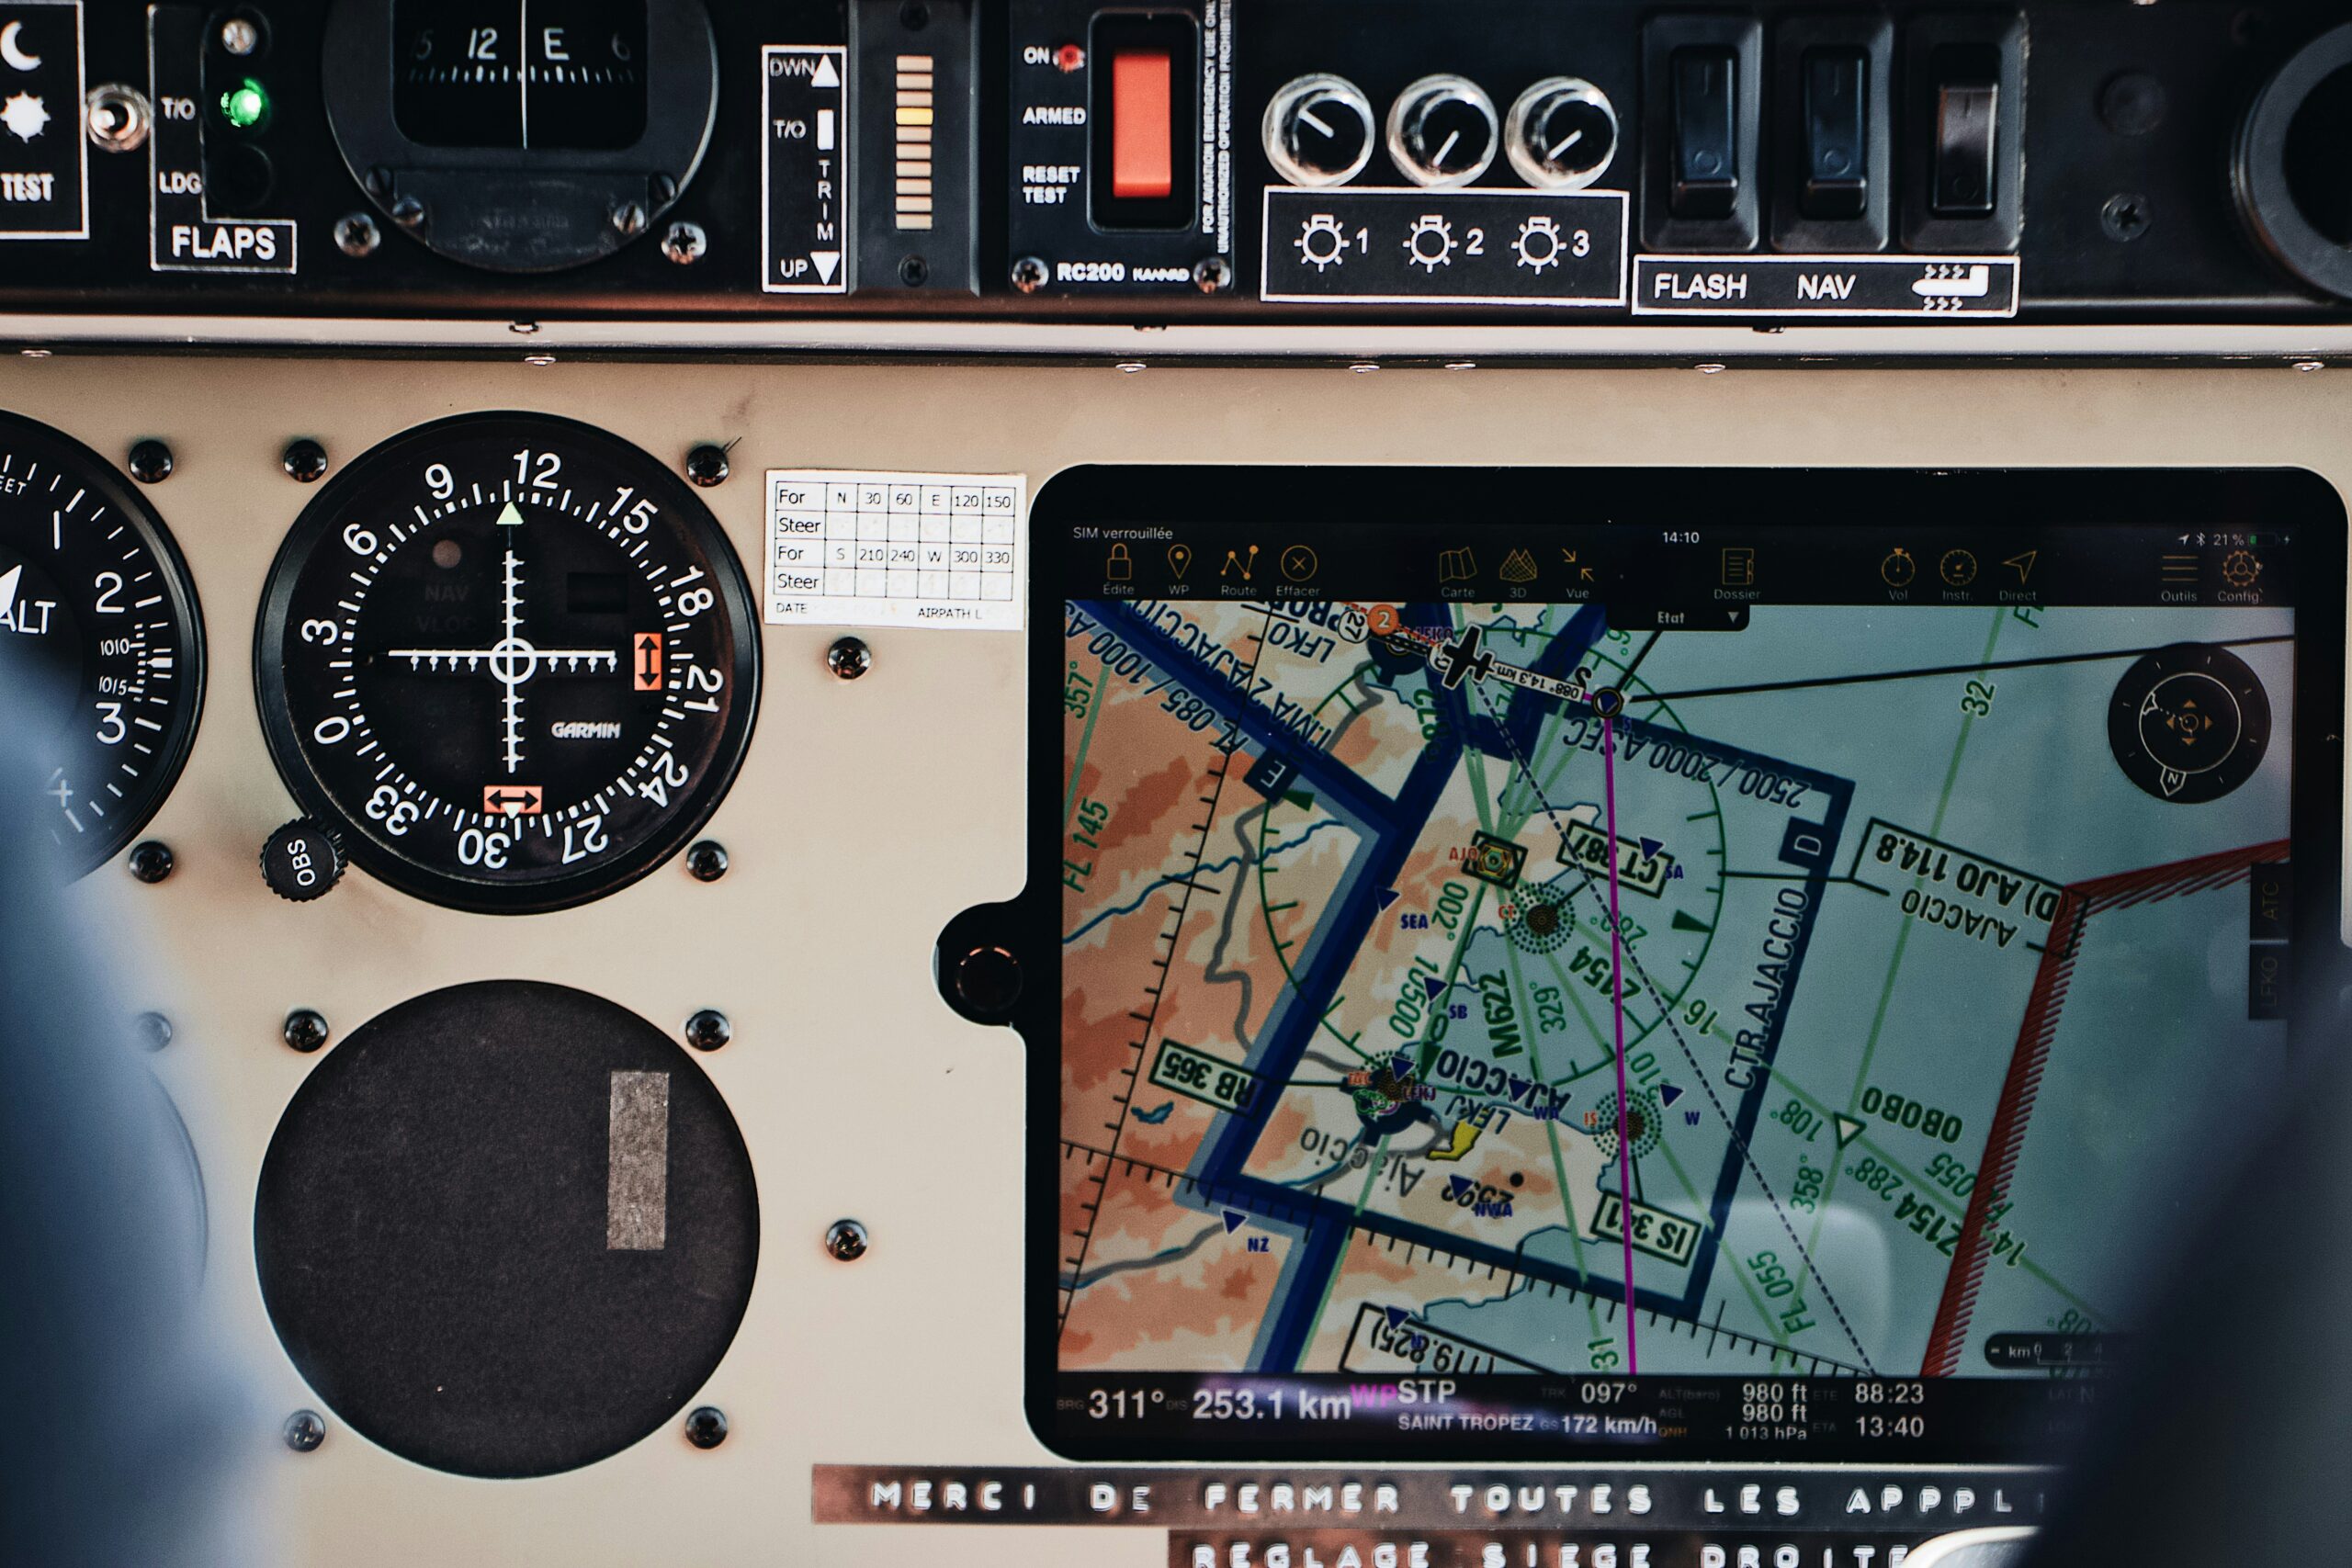
There’s a full Garmin glass panel with the latest autopilot and other advanced features in it. We’re going to have a review of the performance and the specifications of the plane, and we’re going to do a comparison between two other popular complex airplanes, the Mooney M20C and the Cessna Cardinal RG.
And we’ve got to do our signature flight portion—the startup, taxi, takeoff. We’re going to climb, cruise over 11,000 feet, and then do our descent and landing. This Piper Arrow 180 review will give you a complete picture from cockpit to cruise.
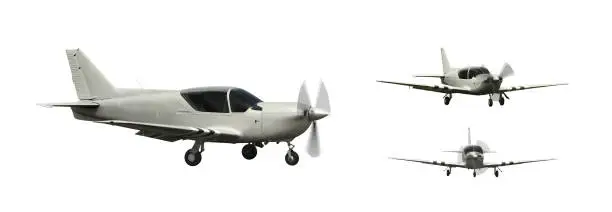
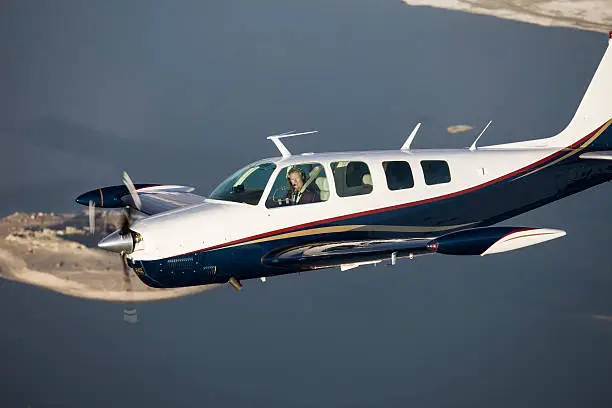
2. Design and Purpose
When you want to fly fast and do it economically, you go out and you look for a complex airplane with retractable gear and a constant-speed prop.
There’s one complex airplane out there that was designed to make it easy for pilots to transition from the fixed gear to the retractable gear. It’s an easy-to-fly plane, it’s easy to land, it’s got a low maintenance cost and low cost to own, as well as having an overall good performance, and this Piper Arrow 180 review proves that this aircraft fits the bill perfectly.
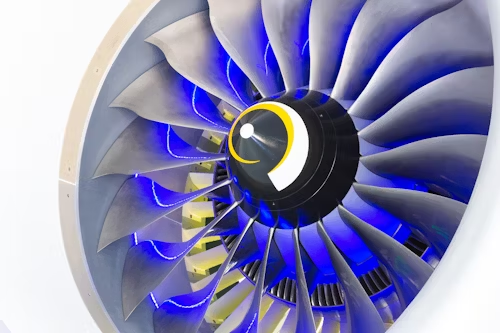
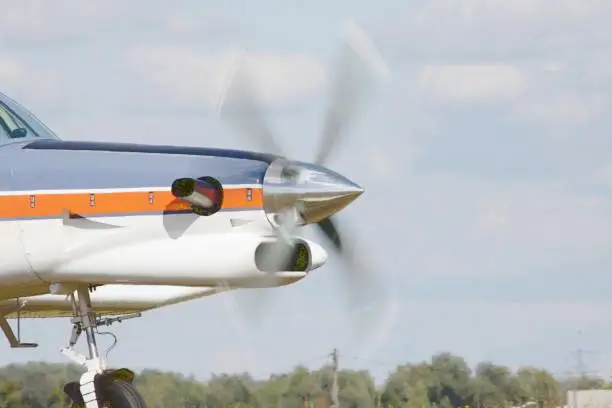
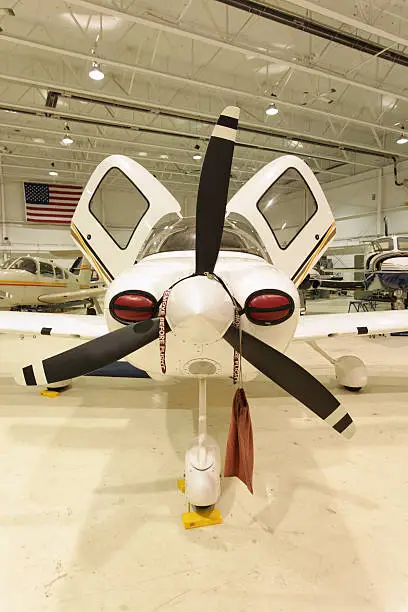
3. Engine Differences and Structural Insight
Some people call it gear-up Cherokee, but this is not a retained gear version of Cherokee. Cherokee has an O-360 carbert 180 horsepower engine and fixed pitch propellers. It is an IO-360 fuel-injected 180 horsepower with a continuous speed prop.
Therefore, although both are 180 horsepower engines, the Cherokee can only produce 135 horsepower with its fixed pitch props at static speed. The aircraft is a friendly, economical, reliable, and easy to up, but it is still a composite aircraft.
4. Automatic Landing Gear System
They even went so far in making the design safer and easier to fly that they created an automatic landing gear. It’s a feature that’s not available in other similar planes.
The Arrow was designed for pilots as an easy step to get into the complex aircraft. It’s simple and easy to fly, and easy to control, but it has features to help the pilot along the way. This Piper Arrow 180 review highlights just how thoughtfully engineered this plane is for both new and experienced pilots.
5. Focus on the First Arrow Model
Now, since there are some different models made throughout the years, we’re going to be focused on the first Arrow model that was manufactured from 1967 to 1971, and that way, we can go and cover those other Arrow models in the future. This Piper Arrow 180 Review will specifically highlight the features and performance of that original model, setting the stage for comparisons with later versions.
6. Sales History and Market Demand
Now this Piper Arrow 180 Review aircraft is for sale. There was an increased demand for the complex singles. Mooney ruled the market at that point. Beech did have their Musketeer, and there have been the Rockwell Commander and the Cessna Cardinal RG. But whilst Piper entered the marketplace with the Arrow, none of the others could compete. Between the Moonies and the Arrows, and in fact inside the first two years on my own, there have been over 1100 Arrows offered.
This Piper Arrow 180 overview highlights how the plane quickly received recognition due to its balanced performance, affordability, and pilot-friendly design.
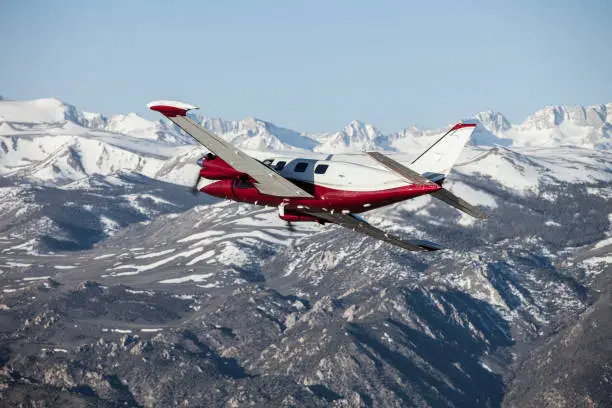
7. Certification and Wing Design
That’s when the Arrow first received its certification. All-metal complex airplane with a 30-foot Hershey bar wing, so it even fits into small hangars. And let’s take a comparison. The Mooney M20C and Cardinal RG have a 36-foot wingspan, so this is six feet shorter overall.
But the wing area it’s 160 square feet, which means low wing loading and better slow-fly characteristics.
The stall speed on this is only 53 knots when in the landing configuration. This Piper Arrow 180 review underscores how its unique wing design contributes to safer low-speed handling and improved versatility for smaller hangar spaces.
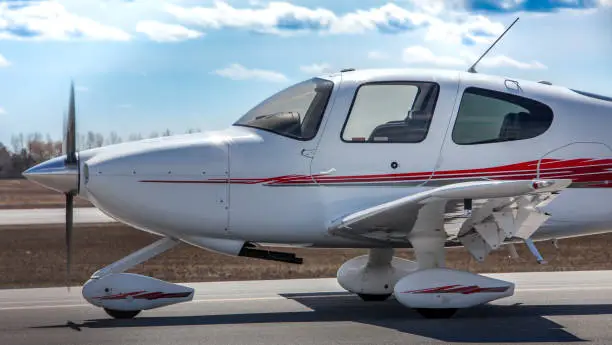
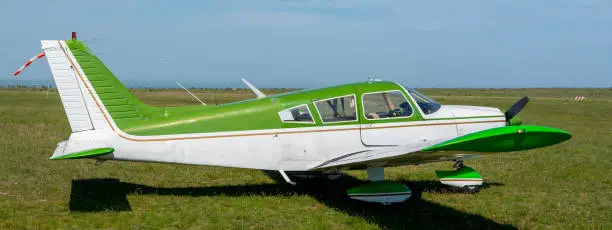
8. Wing Features and Flaps
So,Piper Arrow 180 Review take a look at this wing and see just why it is called the Hershey bar wing. Well, if you look at it from top down, it’s a nice rectangular shape, almost squared out, it looks like a Hershey’s candy bar. That’s why they call it that. I’m going to take a look at the flaps. These are a manual flap system; it’s got a Johnson bar in the middle.
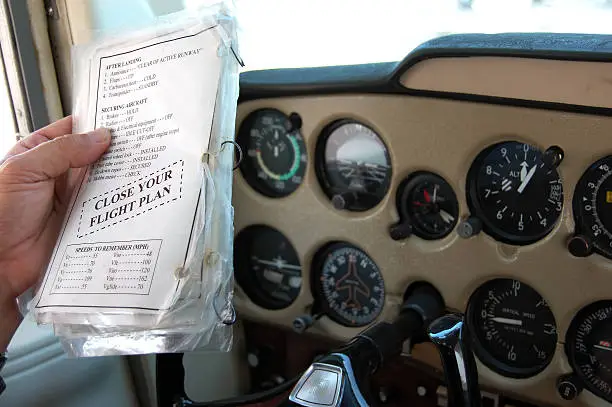
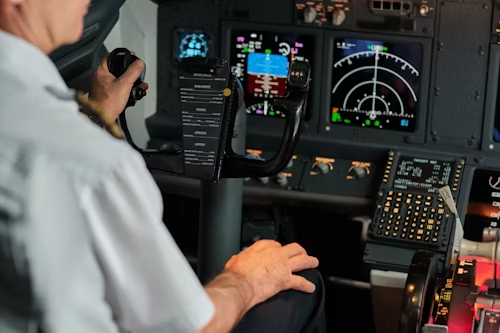
9. Startup and Taxi Procedures
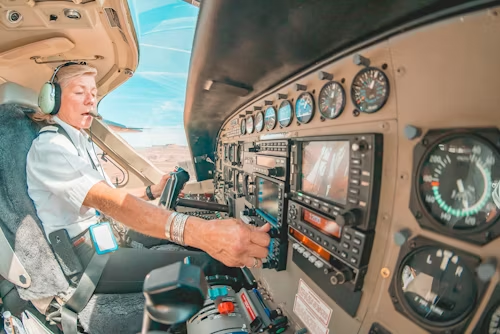
But for many pilots, it’s not just the performance that matters, and I think that the reason the Arrow is a popular plane is that it’s an easy plane to fly and an easy plane to land. All right, so we’ve got all of our gauges over here, all of this stuff is off because our radio is off, so we’re going to be watching our fuel flow in gallons per hour, the PSI, and the oil PSI are the three gauges we want to watch during our startup procedure.
This Piper Arrow 180 review highlights not only its approachable handling characteristics but also the practical aspects of engine monitoring and cockpit familiarity that make it ideal for both new and experienced pilots.
So startup includes, I’m going to make sure holding our brakes, we’ll push the fuel pump on, we want to advance the mixture until we see our PSI go up and our fuel gallons per hour go up, our fuel PSI, then we’ll pull that back, make sure that our throttle is cracked just a little bit, then we’re going to go ahead and we’re going to turn it over. The first things after initial start, RPMs 800, oil pressure in the green, and then we can adjust our RPMs from there for our idling and getting ready for taxi.
This engine shouldn’t be run at a long period at the low RPMs, so you can run it at about 14–1500 if you’re going to be waiting, if you’re holding short, if you’re waiting for clearance, anything like that, extended period, run it at about 14 to 1500 RPM while you’re sitting on the ground waiting, it helps avoid fouling out your spark plugs if you keep it at too low of an RPM for too long.
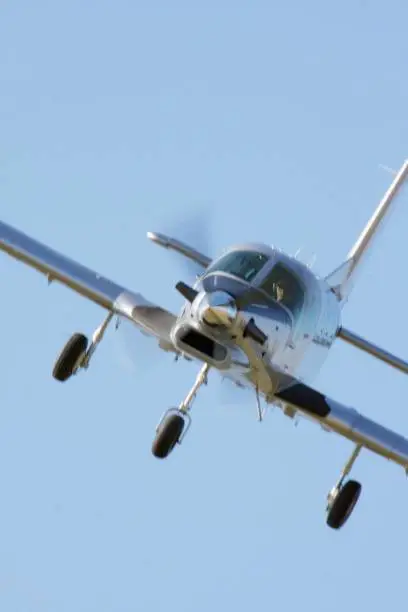
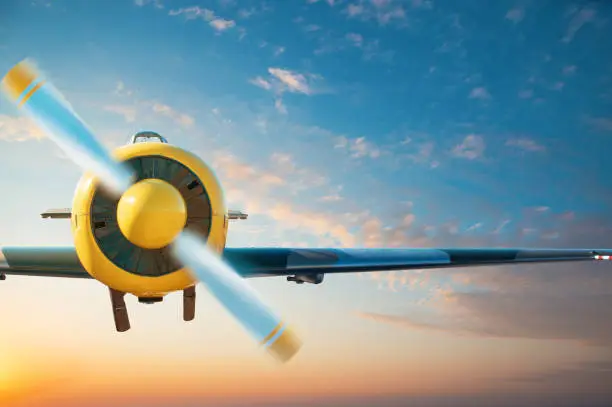
10. Takeoff, Climb, and Comparison to Other Aircraft
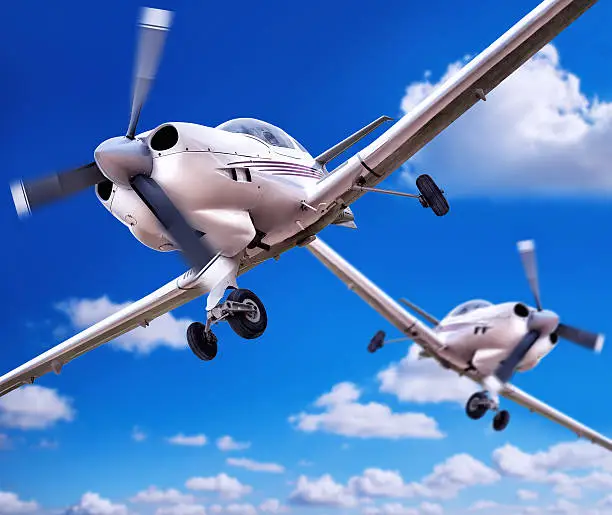
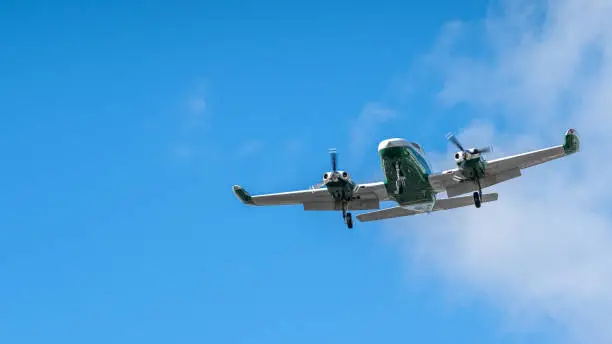
Take a look at the Mooney landing. Unlike the Arrow, the Mooney demands a precise approach speed to land properly. Takeoff is just smooth acceleration with heavy right rudder to compensate for the yaw, and you just hold the nose up, rotate at 60, and let the airplane fly itself. Here’s an outside view of the takeoff, as the Arrow needs very little runway to take off. Let me go ahead and retract the gear once we have no usable runway left to land.
Now let’s take a look at this comparison of an Arrow and a Cherokee taking off. This Piper Arrow 180 review illustrates the Arrow’s forgiving takeoff and landing characteristics, making it stand out from more demanding aircraft like the Mooney.
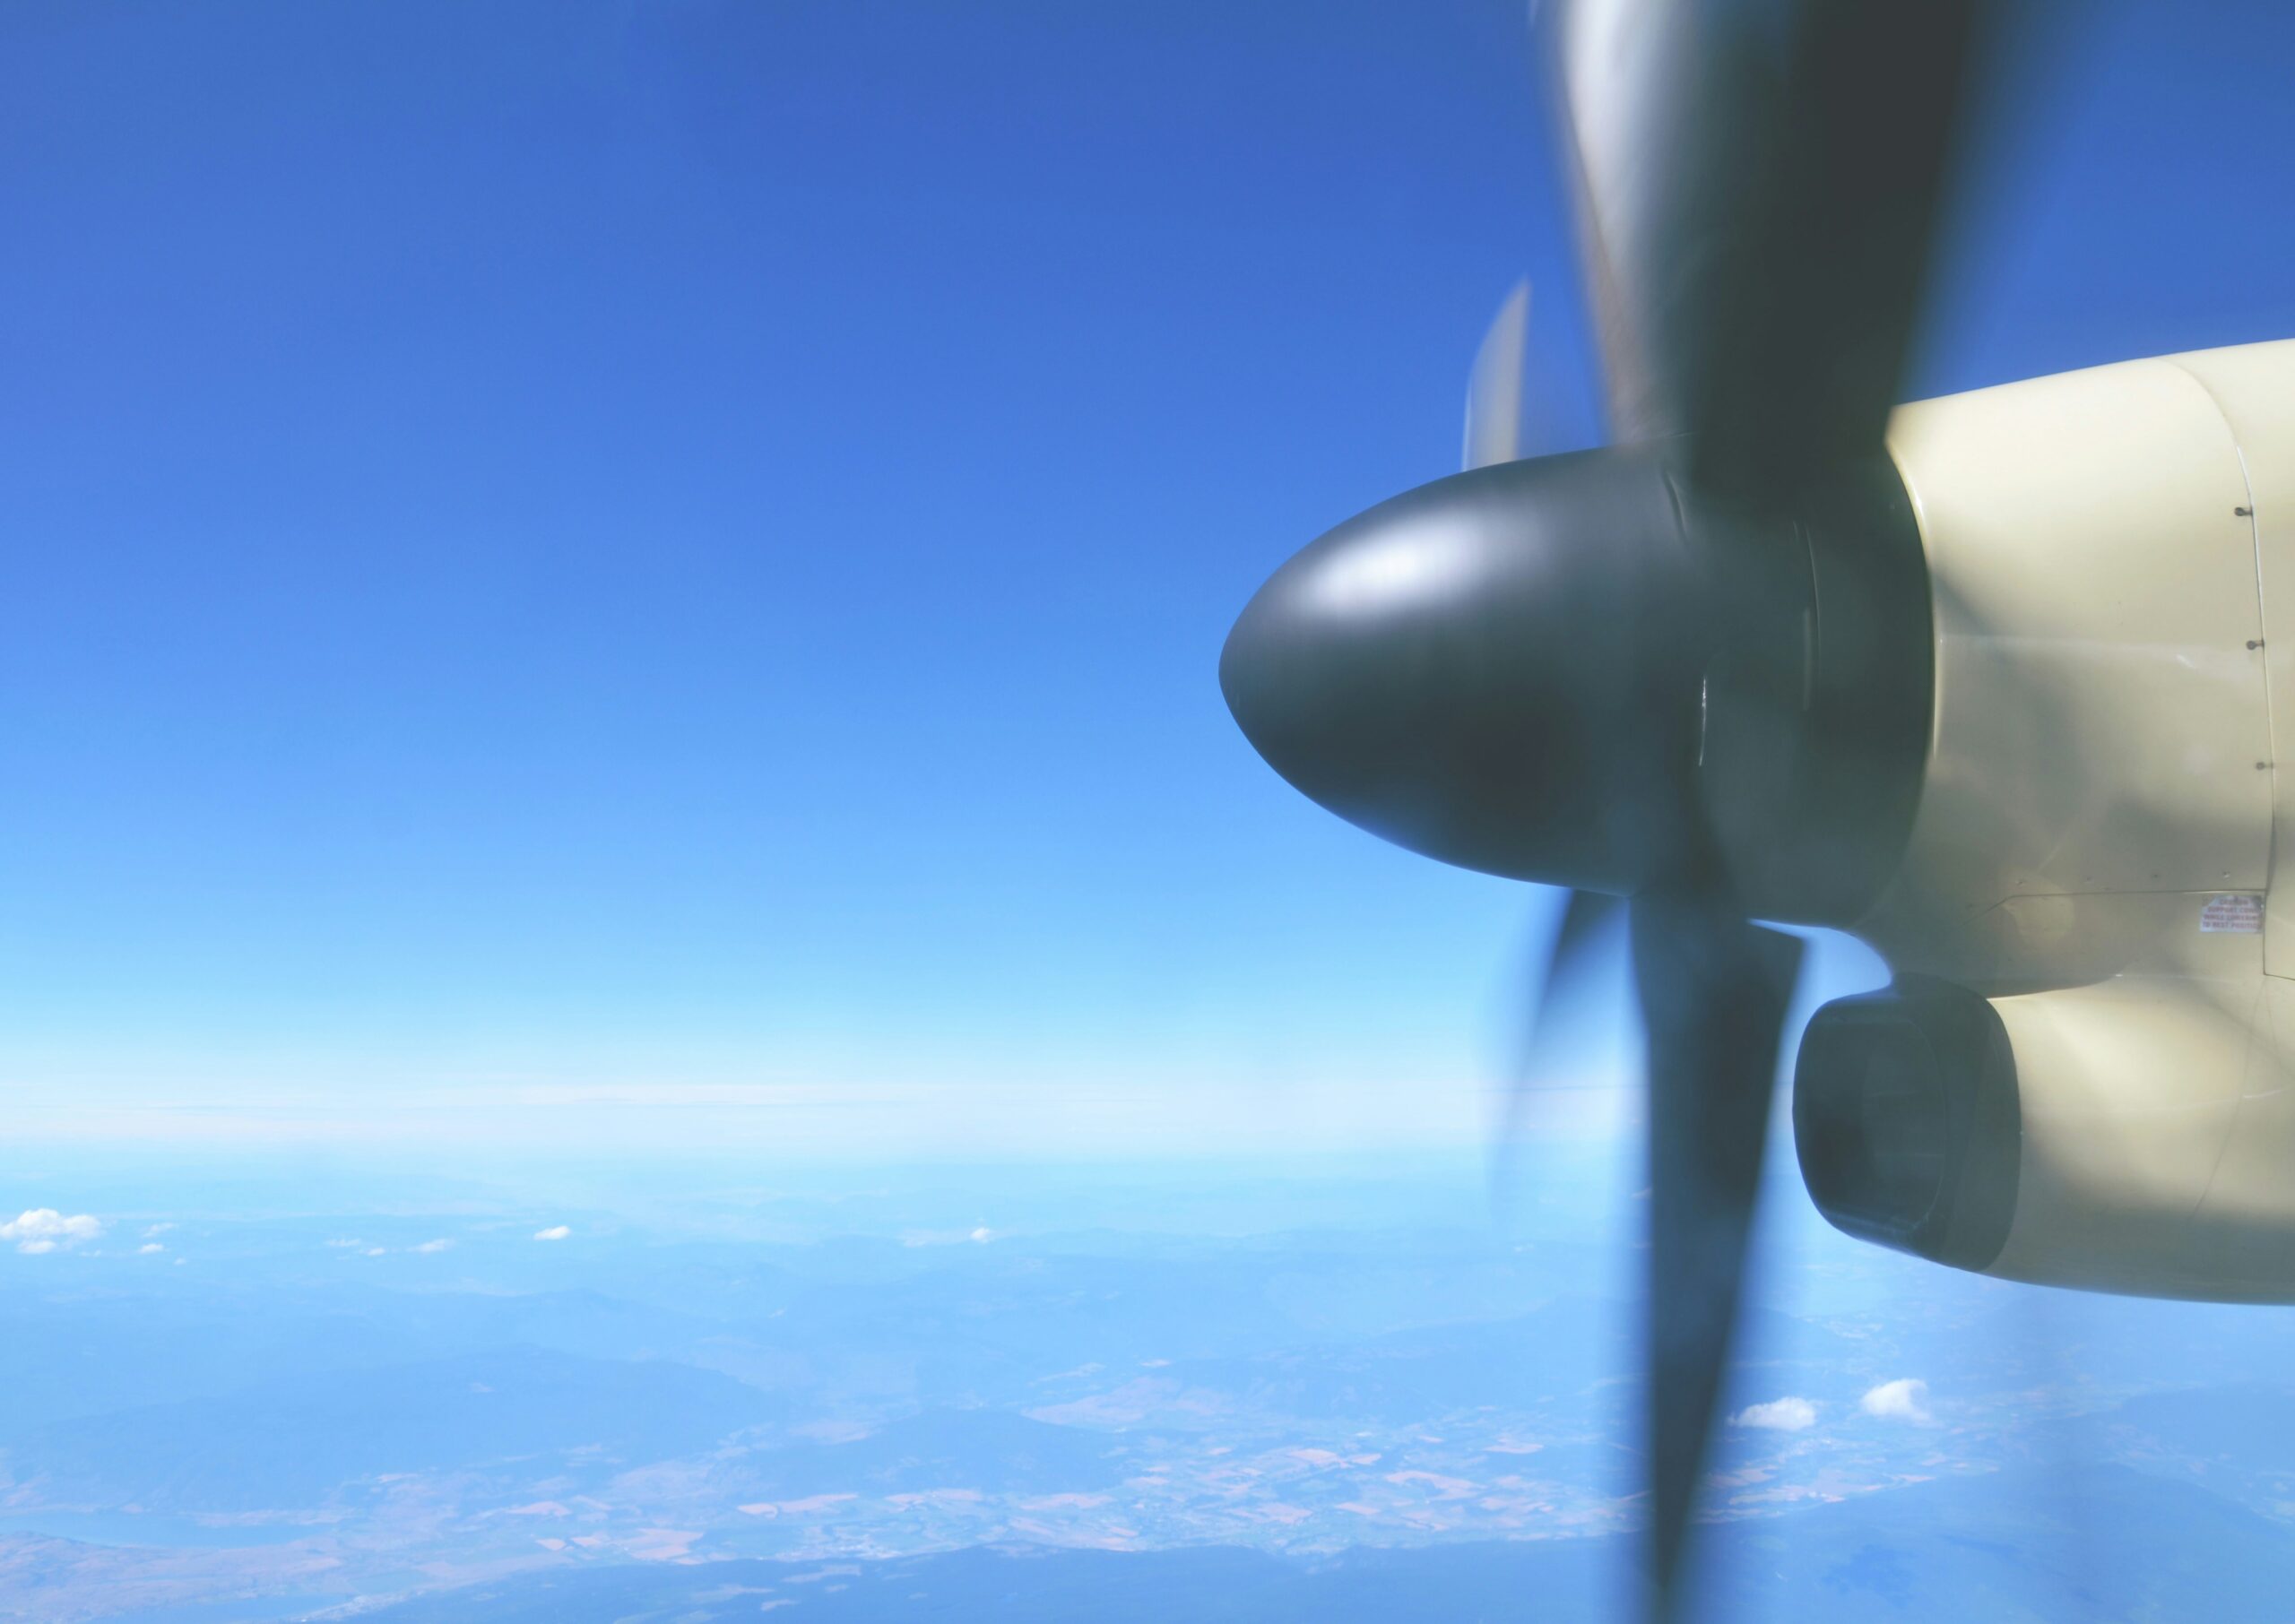
The best rate of climb for the Arrow is at 87 knots and Piper recommends not to lean below 5000 feet but when we have a cruise climb setting, we do lean the mixture out since we’ve got a digital engine monitor and can closely monitor the engine temperatures and only us GA pilots get these great views. We even had to take a right 360 here just to get behind another plane, different adjustments on the vertical speed, things like that.
Right now we’re at 46.20 so we will want to adjust ourselves down a little bit here, get back to the 45, so we’ve got a little scroll wheel here on the autopilot that’s letting us drop it down a couple hundred feet a minute that we’re going down, so we can let it drop down. You can also adjust your vertical speed by using a vertical speed indicator as well as your indicated airspeed. You can climb out at an indicated airspeed if you want to or descend on it, but this is just a very light adjustment in flight.
So we’re just using the up and down on here, looks like we’ve captured our track, we’re heading straight to the field. You can also go in, you load in approaches if you know you’re gonna be flying an instrument approach, whatever it is, get everything set up in here, load it in and let it fly the approach, so lots of different options on it that way, get leveled off here about 4,500.
11. High Altitude Cruise and Descent Procedures
One zero tango, how long are you staying at ten five? It looks like we’ve got another bank of clouds up here, so we’ll be up here for a little while longer. One zero tango, all right, just advise if you are gonna change altitudes at all three zero zero five, and will advise any altitude changes.
One zero tango, Chicago Center, Arrow one zero tango, we may need to climb up to eleven thousand to clear some clouds in front of us. Perfect, I love that, no traffic, but thanks for the heads up, you’re welcome. Descending from high altitudes is fairly smooth, and according to Lycoming engineers, you can’t shock cool these engines, but we do pull the power back gradually in the descent just to manage the airspeed and power gain.
12. Landing Setup and Touchdown Technique
When we blow Piper Arrow 180, we usually reduce the number of landing equipment manually in traffic patterns, or are about three miles if we are on a straight-in-stubborn approach that Addressing the equipment at this time helps to slow the aircraft and cause IT infection in the landing configuration.
Piper Arrow 180 is known for its stable viewing properties, especially when configured with full flap, and with landing equipment, including nose wheels, which were completely expanded and locked. This setup provides a predicted and controlled descent profile, which is necessary for a Safe Landing.
To start configuring for landing, we will manually introduce 10-degree flap extensions. This is done by grabbing the flap control lever, which is often referred to as a “flat ba,r” – and until it is closed in the first details, it pulls backwards. At this stage, we verify that our aircraft remains within the white arc of the air -bited indicator and ensures safe operation of the flap.
As part of a comprehensive Piper Arrow 180 review, pilots often admire the responsibility and stability of the aircraft during the approach, especially compared to other single-gear coaches. The ability to manually manage the flap and equipment provides more control to pilots on energy management, making it an excellent platform for training and cross-country flight.
Star County traffic Arrow one zero tango turning base runway three six start counting, that one that we flew past just a few minutes ago is coming in behind us for the landing, so keep our radio calls active since we’ve got active traffic in the pattern.
Our prop needs to be at 2,600 RPM ready for the go around, so that’s one of the steps we’re checking. Our mixture already was full rich, pull the power down, it’s almost just above the stall is what you want to settle down, and you want to catch the main gear first and then hold that nose wheel off as much as possible. Here’s an outside view of the landing, how nice the landing is, and just how little it takes on the runway, let it slow down.
And then one of the other things you want to do is you want to make sure that you put those flaps down and out as soon as possible before you do your braking, which helps with the control of the plane. But you can see it stops quickly, really short distance, didn’t even use a third of the runway to get down and stop. Here’s a Piper Arrow 180 Review comparison of the Arrow and Cherokee landing. I think the Cherokee was a student pilot who was using a little higher speeds, but they do land very similarly.
This Piper Arrow 180 review highlights the plane’s impressive landing performance, ease of control, and reliability, even when compared side by side with similar aircraft like the Cherokee.
1. Is the Piper Arrow 180 difficult to fly?
No, it’s considered an easy plane to fly and land, making it popular among pilots.
2. What is a key difference between the Piper Arrow 180 and the Cherokee regarding landing?
In the Arrow 180, it’s recommended to manually lower the landing gear about 3 miles out or in the downwind leg, whereas the Cherokee (fixed gear) doesn’t have this step.
3.Why might someone choose the Piper Arrow 180 over a fixed-gear aircraft like the Cherokee?
Pilots often choose the Arrow 180 for its retractable gear, constant-speed propeller, and overall good performance, making it suitable for faster, more economical flight and as a step towards multi-engine training.